Original: $3.00
-70%$3.00
$0.90The Story
Perfect for educational uses, the Adafruit Simple Soil Moisture Sensor is low cost, and easy to use.
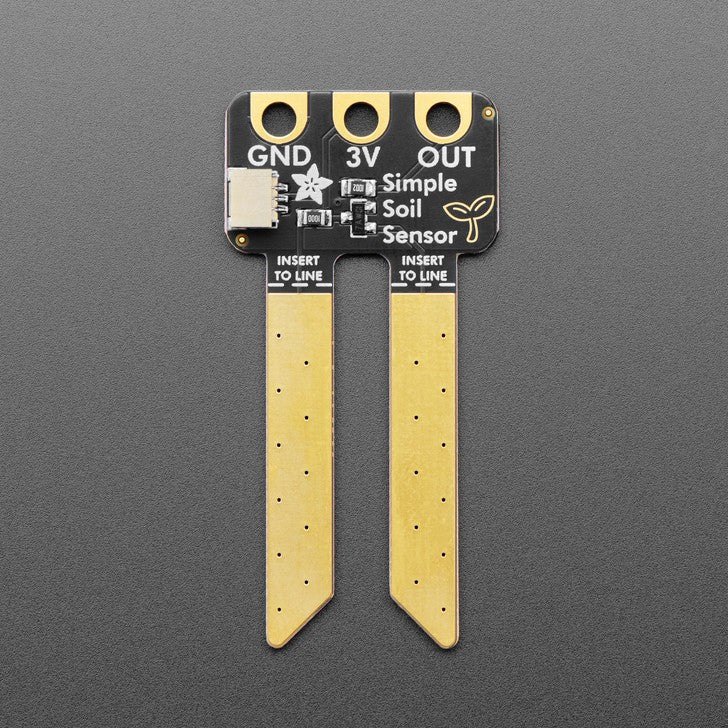
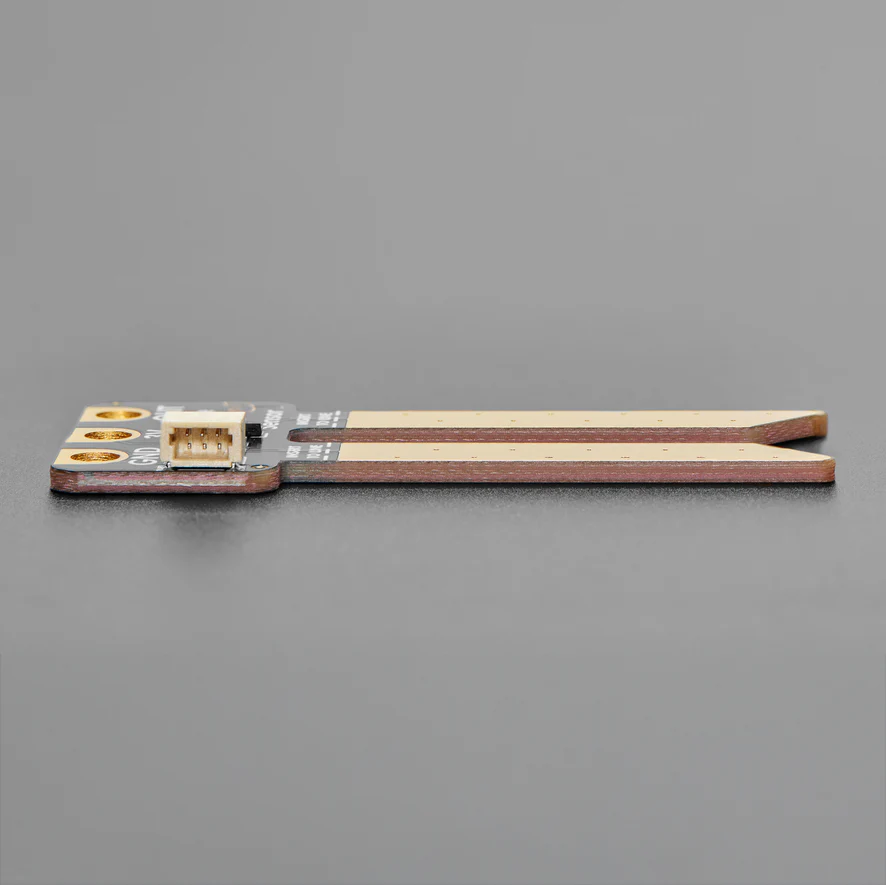
This is a simple resistive style moisture sensor, where there's two prongs and the sensor measures the conductivity between the two. Adafruit gold-plated the prongs to reduce risk of oxidation - if you see build-up on the prongs, clean them off with a dish-scrubber to keep the sensor going.
While not as advanced as a capacitive or frequency-based sensor, these are really easy to use! We're stocking this sensor for folks who want to use it with a micro:bit or Arduino or other board with an analog input. It won't work with a Raspberry Pi because those don't have analog inputs - for that use a capacitive sensor.
Getting started is super easy!
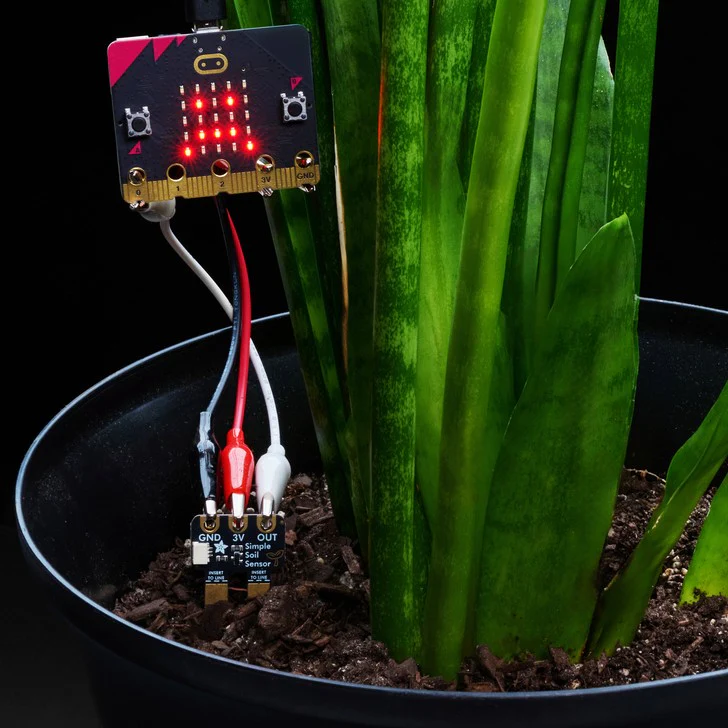
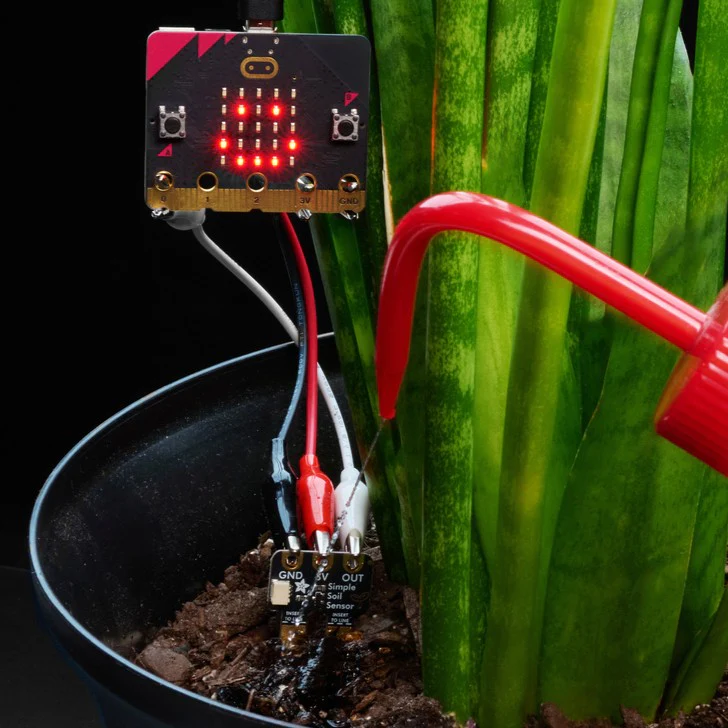
- When using with a micro:bit you'll need some small alligator clips. Connect the GND pad from the 'bit to the GND pad on the sensor. Connect the 3V pad to the 3V pad. Then connect the 0 pad on the 'bit to the OUT pad on the sensor (you can also use 1 or 2 pad on the 'bit). Then, on the micro:bit read the analog value. When soil is dry, the reading will be under 100. As the soil gets wetter it will rise to 1000.
- On an Arduino, connect 3V to the 3V output pin (or 5V if there's no 3V pin) and GND to ground. You can either use alligator-clips-to-pins or a JST SH to 3-pin cable. Then connect the OUT to A0 or another analog input. When you use analogRead() you'll see dry soil at < 100 and wet soil > 600.
Either way, no soldering is required!
Please note: This is just the sensor, you'll also need alligator clips or a JST-SH cable to connect to it!
Technical Details


Learn
- Primary Guide: Adafruit Simple Soil Moisture Sensor Measure soil moisture resistively
- See All Guides
Details & Craftsmanship
Every detail has been carefully considered to bring you the perfect product.
Details & Craftsmanship
Every detail has been carefully considered to bring you the perfect product.
Details & Craftsmanship
Every detail has been carefully considered to bring you the perfect product.
Details & Craftsmanship
Every detail has been carefully considered to bring you the perfect product.

Details & Craftsmanship
Every detail has been carefully considered to bring you the perfect product.
Description
Perfect for educational uses, the Adafruit Simple Soil Moisture Sensor is low cost, and easy to use.
This is a simple resistive style moisture sensor, where there's two prongs and the sensor measures the conductivity between the two. Adafruit gold-plated the prongs to reduce risk of oxidation - if you see build-up on the prongs, clean them off with a dish-scrubber to keep the sensor going.
While not as advanced as a capacitive or frequency-based sensor, these are really easy to use! We're stocking this sensor for folks who want to use it with a micro:bit or Arduino or other board with an analog input. It won't work with a Raspberry Pi because those don't have analog inputs - for that use a capacitive sensor.
Getting started is super easy!
- When using with a micro:bit you'll need some small alligator clips. Connect the GND pad from the 'bit to the GND pad on the sensor. Connect the 3V pad to the 3V pad. Then connect the 0 pad on the 'bit to the OUT pad on the sensor (you can also use 1 or 2 pad on the 'bit). Then, on the micro:bit read the analog value. When soil is dry, the reading will be under 100. As the soil gets wetter it will rise to 1000.
- On an Arduino, connect 3V to the 3V output pin (or 5V if there's no 3V pin) and GND to ground. You can either use alligator-clips-to-pins or a JST SH to 3-pin cable. Then connect the OUT to A0 or another analog input. When you use analogRead() you'll see dry soil at < 100 and wet soil > 600.
Either way, no soldering is required!
Please note: This is just the sensor, you'll also need alligator clips or a JST-SH cable to connect to it!
Technical Details
Learn
- Primary Guide: Adafruit Simple Soil Moisture Sensor Measure soil moisture resistively
- See All Guides